If your camera does video, you might encounter low light situations. Here’s a DIY hack that might make the difference between unusable video and a low light video.
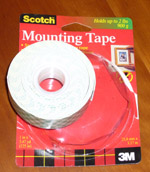
Materials: Double sticky tape, a small LED flashlight and your camera.
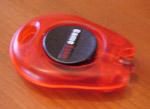 I got this flashlight for free with my Nintendo DS case, but I’ve seen little flashlights like this for sale at department stores in the flashlight aisle. What you need is a flashlight with a white LED light that can be turned on and will stay on without holding the button. Some flashlights need you to hold the button to keep it on, which wouldn’t work for this. The shape of the flashlight doesn’t matter, although a tubular flashlight wouldn’t have as much surface area for the double sticky tape.
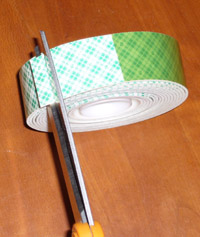
Cut the double sticky tape: You will need two pieces of double sticky tape: one thin piece like this and a longer piece to go over the top of it. The light will have to be angled downward in order to hit your subject correctly.
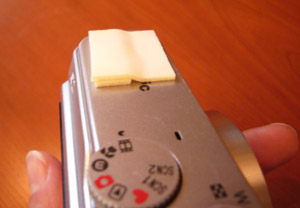
Place the double sticky tape on the camera: Place the thin strip toward the back area of the camera and the longer strip over the top of it. This will create an angled surface for the flashlight. It probably won’t be perfect, depending on your camera, but it will be closer to the center of your frame than a flat piece of double sticky tape.
Stick on the flashlight: This is the hardest part of the project. Go into a dark room. Turn on the flashlight and the camera. Look at the display and carefully place the flashlight so that the middle of the light hits the middle of the display of the camera. If it is too much to the left or right, you’ll end up with your subject to the left or right of the frame because you want to illuminate them.
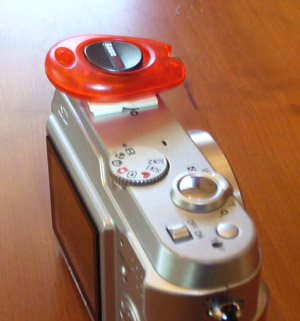
The first time I did this the light wasn’t centered and it wasn’t angled. The video that I shot with the camera had the subject to the left and a little higher than centered because that’s where the light was shining. It took me four tries to get it right.
Ironically, this light has been helpful when taking pictures, also. It helps the camera to focus and I get better still photographs when there is low light (even when I use the flash).
The only problem with this hack is that people keep asking me what the red thing on my camera is for. I find that explaining it to them gets their eyes to glaze over. Now, I just turn on the light and stay silent. They get the point without me having to go into detail about low light situations and focusing.
This hack has helped me take better pictures and video. Hope it helps you as much!

